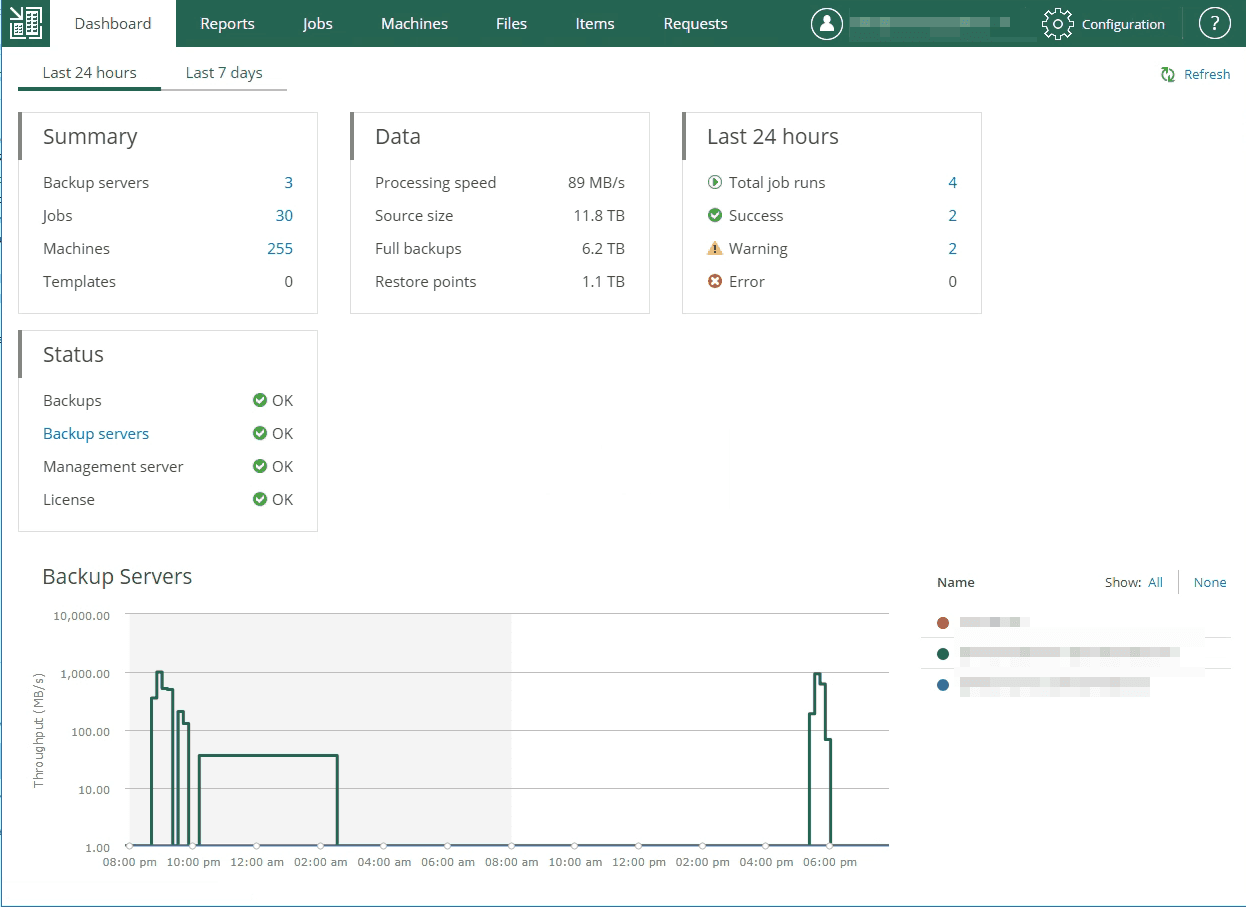
In Veeam Backup and Replication 9.5 Update 4, Veeam Backup Enterprise Manager got a major face lift. In addition to looking fantastic and being easy to use, Veeam Enterprise Manager is a powerful tool to empower users with a self-service model for managing their Virtual Machine backups and restores, as well as keeping an eye on your Veeam infrastructure. Veeam Backup Enterprise manager allows users to manage and monitor their Veeam jobs running on multiple Veeam Backup & Replication Servers from a centralized web interface.
Today, we are going to take a look at how to install Veeam Enterprise Manager step by step, and how to perform the initial configuration of Veeam Enterprise Manager by adding several Veeam Backup & Replication servers.
Veeam Enterprise Manager Installation Prerequisites
When it comes to the requirements for installing Veeam Enterprise Manager, the thing to be most concerned with are the hardware requirements, which are:
- CPU: x64 processor
- Memory: 4 GB RAM (minimum recommended).
- Hard disk space: 2 GB on the system disk (required to extract all components from the setup package during the product installation).
- Network: 1Gbps recommended due to backup performance considerations.
As you can see, Veeam Enterprise Manager is pretty light weight. Besides these hardware requirements, a modern Windows operating system is needed. You can read the full Installation Prerequisites here at the Veeam Help Center.
Veeam Enterprise Manager does need a number of software components, you can select to let Veeam Enterprise Manager do the hard work for you and install them on the server as you install Veeam Enterprise Manager, as you will see later. This is my preferred option.
Installing Veeam Backup Enterprise Manager
Veeam Enterprise Manager is installed with the same ISO as Veeam Backup & Replication:
It is not installed by default along with Veeam Backup & Replication, so you will need to install it separately. In my lab, I have Veeam Enterprise Manager installed on the same server as Backup & Replication.
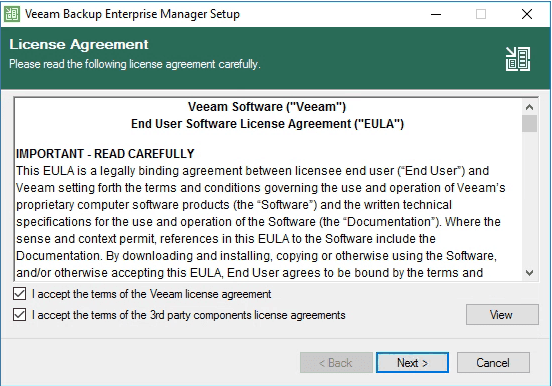
Next, accept the EULA for Veeam Enterprise Manager.
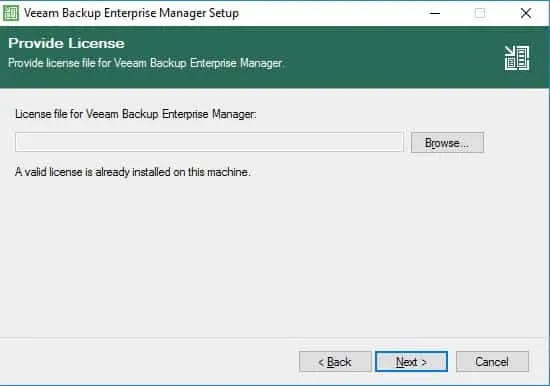
Next, select the your Veeam Backup & Replication license file. Since I am installing Veeam Enterprise Manager on the same server as Veeam Backup & Replication, the license file is already there.
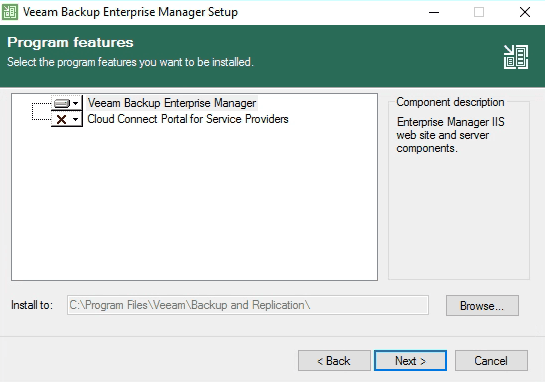
Next, you will see Veeam Enterprise Manager is selected as a feature. Optionally, you could also install Veeam Cloud Connect at the same time.
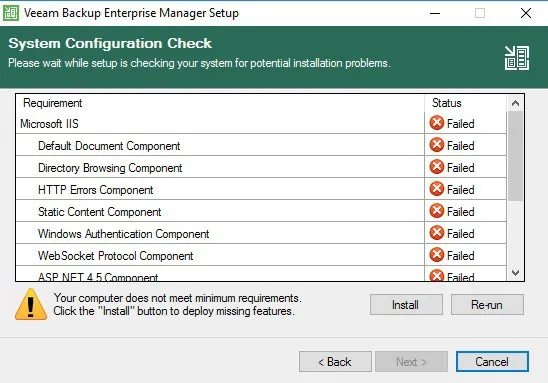
At the beginning of this article, I mentioned not to worry too much about the required software components for Veeam Enterprise Manager. This next screen shows us exactly why we do not need to worry.
Simply click Install, and the required components will be installed on your server. This will just take a few moments. After the installation of required components for Veeam Enterprise Manager has been completed, you will be able to click Next.
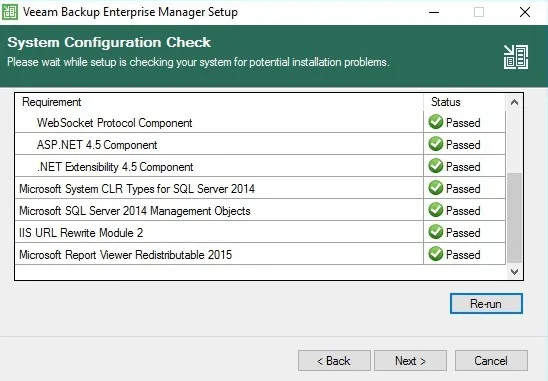
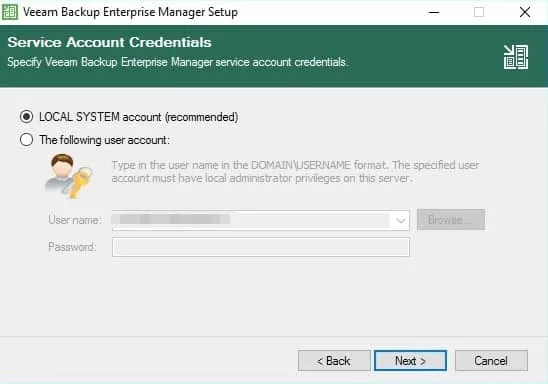
Great feature, right? Next, we will pick the user account account to use to install Veeam Enterprise Manager. I am using the default option, which is the LOCAL SYSTEM account. If you choose to use a service account instead, be sure to pay attention to the required permissions.
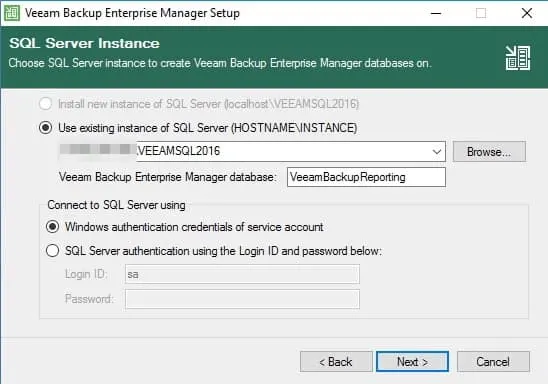
Next, we need to select the database we are going to use for Veeam Enterprise Manager.
If you do not already have a database prepared, you can select the top option of “Install new instance of SQL Server” and the database will be created for you as part of the Veeam Enterprise Manager installation process.
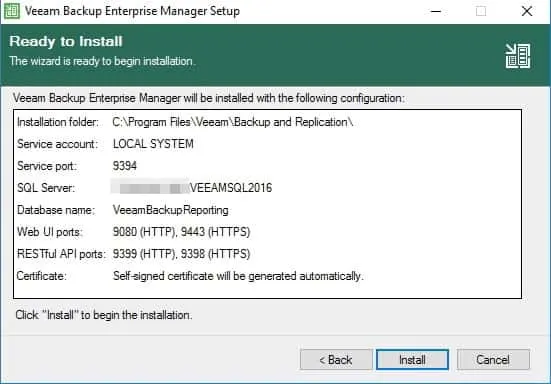
That’s it! Now we are ready to install Veeam Enterprise Manager. You will see a summary of the installation options you have selected. Simply click Install!
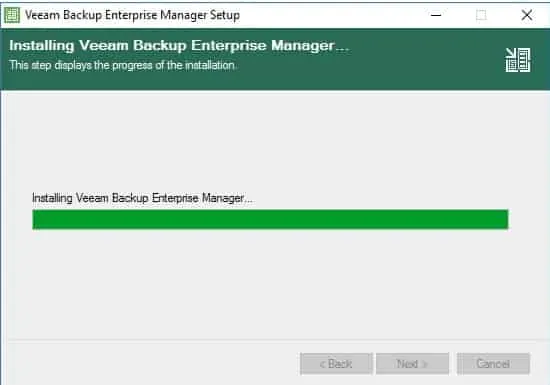
The installation itself is rather quick. You will see a dialog box as follows while the Installation of Veeam Enterprise Manager is completing.
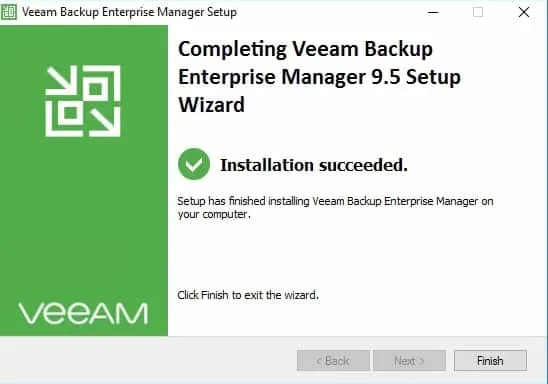
After the installation has completed, the Veeam Enterprise Manager installer is nice enough to tell you this. Click Finish to complete the installation.
Accessing Veeam Enterprise Manager
You will now notice a few extra icons on the desktop of the server you installed Veeam Enterprise Manager on:
These icons are simply URL shortcuts for the Veeam Enterprise Manager web interface and Veeam Enterprise Manager Self Service File Restore. The Self Service File Restore feature is part of Veeam Backup & Replication Enterprise Plus edition.
You can reach Veeam Enterprise Manager with this URL: https://servername:9443
and
Veeam Enterprise Manager Self Service Portal with this URL: https://servername:9443/selfrestore
Where servername is the name of the server you installed Veeam Enterprise Manager on.
Configuring Veeam Enterprise Manager
There are just a few more steps before you can use Veeam Enterprise Manager in your environment. Now, we are going to add Veeam Backup & Replication servers to Enterprise Manager.
Log into the Veeam Enterprise Manager web interface at https://servername:9443. You will need to use the account you installed Veeam Enterprise Manager with.
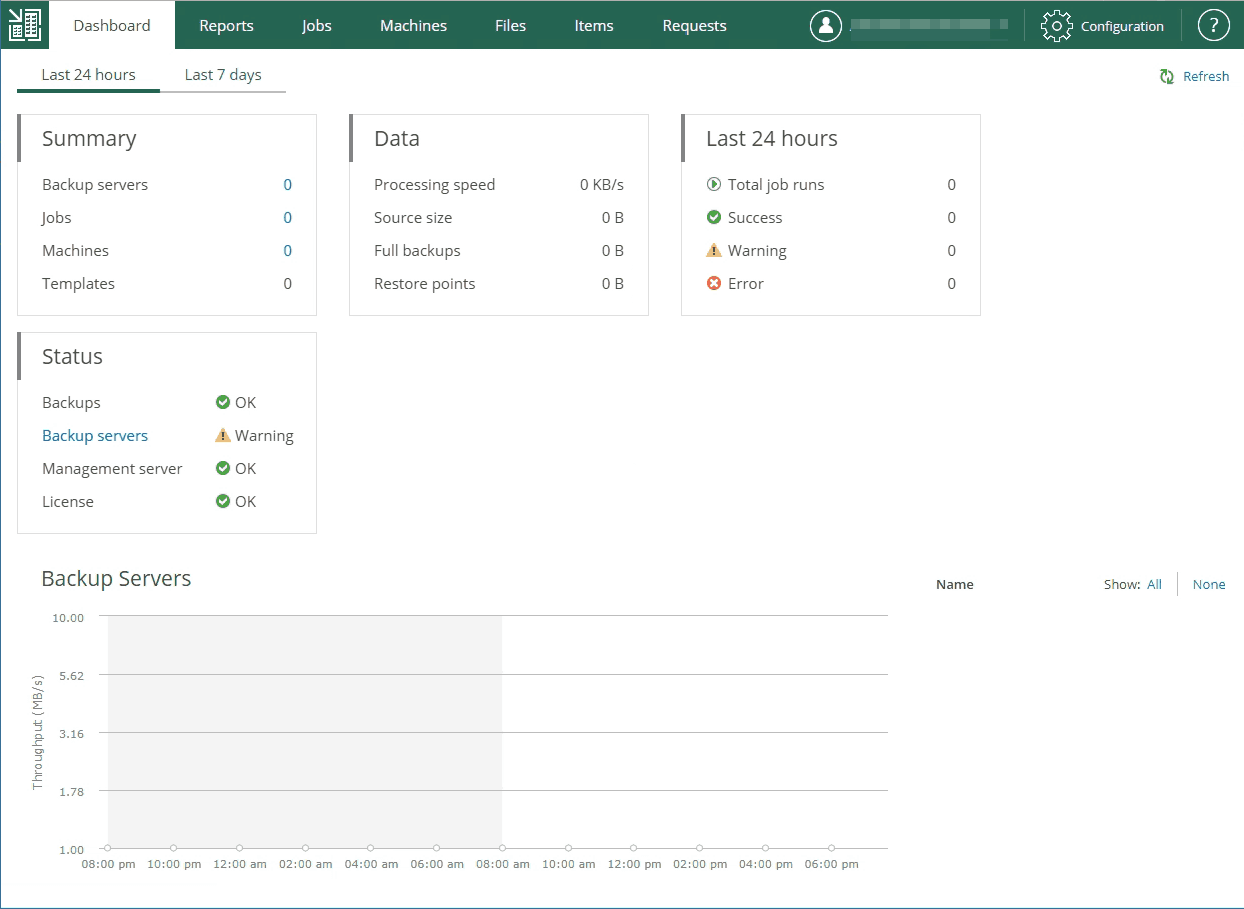
You will now see the Veeam Enterprise Manager dashboard. We do not see much about our environment yet because we have not added any Veeam Backup & Replication servers.
Click the gear in the right hand corner that says Configuration. There is a lot we can do in the Configuration screen, but right now we are focusing on getting up and running by adding our Veeam Backup & Replication Servers.
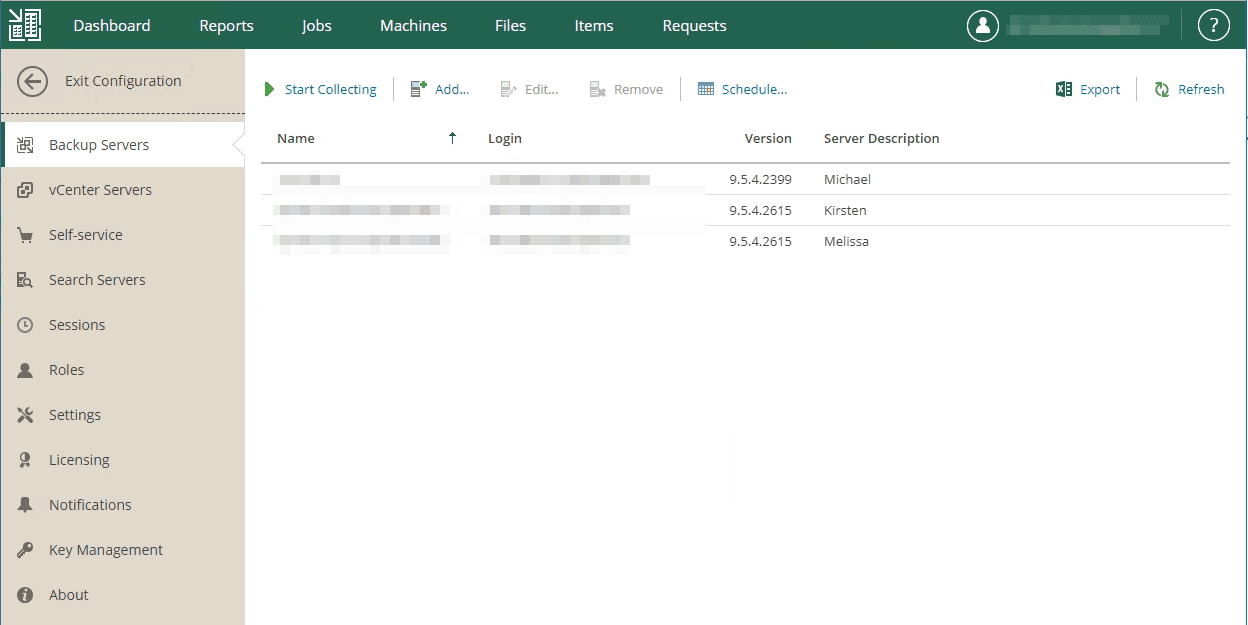
Click Backup Servers in the left navigation pane, then click Add.
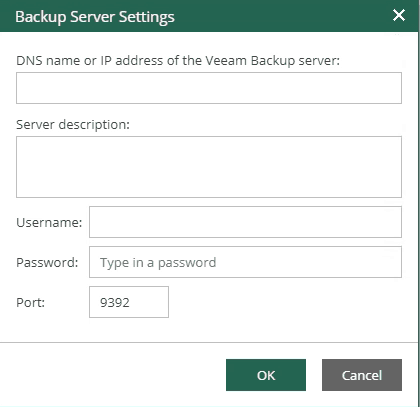
Enter the IP address or server name of the Veeam Backup & Replication server you would like to add. You can also add a description of the Backup & Replication Server. Enter the credentials of an account that has the Veeam Backup Administrator role for the server to the dialog box, then hit OK. To find out more about Veeam Backup & Replication Server rules, be sure to check out this helpful article on the Veeam Help Center.
As you can see, I have added three Veeam Backup & Replication servers to my environment. I used the Server Description field to give them nice names, since the sever names were a bit long. You can also see useful information like the server names (which I hid because they were ugly), and the login of the user that added them.
I am sure we have all worked someplace with a terrible, human unreadable server naming standard and some point or another. This is an opportunity to give our servers friendly names. For example instead of ASDF09876 we can say “Columbus Office” in the description field to make it easier for our administrators to see what is going on where in our environment.
I gave our servers nice friendly names as part of the server description. Now, we just click Dashboard to head back to the screen we saw when we logged in.
As you can see, we now can see some activity in our environment. That is it! We are set up and ready to go.
Using Veeam Enterprise Manager
Stay tuned for more information on how to use Veeam Enterprise manager. In future posts, we will go through the tabs for:
- Reports
- Jobs
- Machines
- Files
- Items
- Requests
And take a deeper dive at the information inside each tab.
Want to learn how to enable self service backups and restore your users with minimal effort using your already existing VMware vSphere permissions? Check out this guide on how to set up vSphere Role Based Access in Veeam Enterprise Maager. You can read about why that is so cool in my post My Top Three Favorite Veeam 9.5 Update 4 Features.
Last, but certainly not least, do not forget to read the What’s New document for Veeam Backup & Replication 9.5 Update 4, where you an learn more about the enchainments of Veeam Enterprise Manager in this release.

Melissa is an Independent Technology Analyst & Content Creator, focused on IT infrastructure and information security. She is a VMware Certified Design Expert (VCDX-236) and has spent her career focused on the full IT infrastructure stack.


